Navigate to ‘Plans’ and select the desired plan. Click the menu button to open the plan, and then click ‘Edit’.
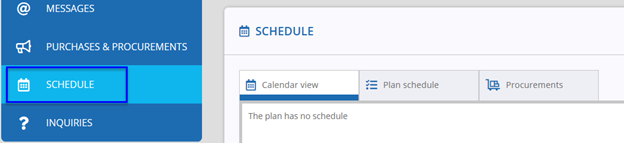
FIGURE: The ‘Schedule’ section allows you to edit the plan schedule. The section includes a calendar view, a plan schedule and potential procurements.
The Calendar view tab displays the schedules set for the plan as well as tasks, including those that have not been published to the calendar.

The Plan schedule tab allows you to set a start and end date and add various tasks for the plan.
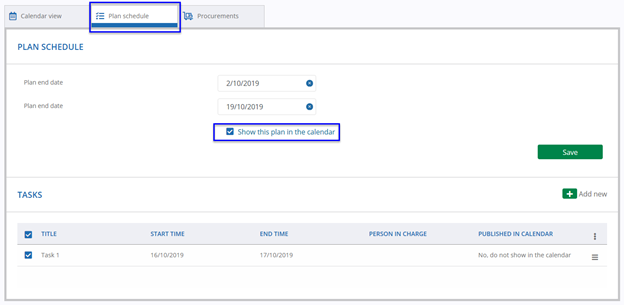
FIGURE: If you want to publish the schedule to the calendar, click ‘Show this plan in the calendar’. ‘Calendar’ means the calendar on the front page of the plan that shows all calendar publications.
Under Tasks, you can add tasks related to the plan concerned. To add a new task, click ‘Add task’. Then define a title, start and end time and responsible person for the task. The responsible person is chosen from among the users with planner privileges in your unit (or subunit) or you can write external responsible person's e-mail address to the field. System will send task information to entered e-mail address. However external person in charge is not able to change the status of the task. NOTE! Only one person in charge can be selected for the task
You can also publish the task to the calendar.
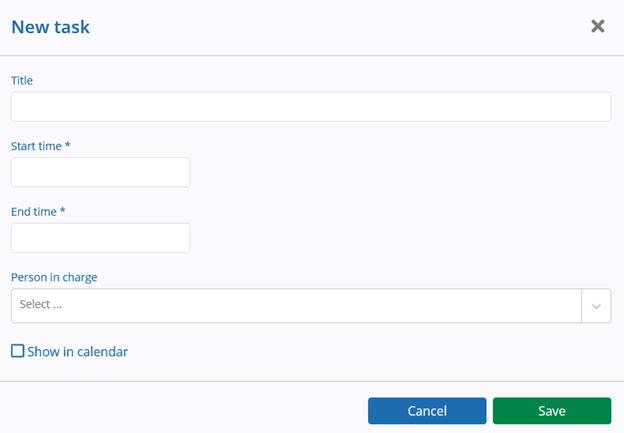
FIGURE: Create a new task and enter start and end times for it
The procurements made from the plan concerned are shown under Procurements. If you want to add a schedule for them, open the procurement concerned and enter a start and end time for it and select whether you want to publish it to the calendar.

FIGURE: In the ‘Edit’ menu, you can add a start and end date for the procurements carried out and publish this information to the calendar
Plan schedules can be published to the calendar if applicable. If the schedules have been published to the calendar, they will update to the calendar that can be accessed from the front page.
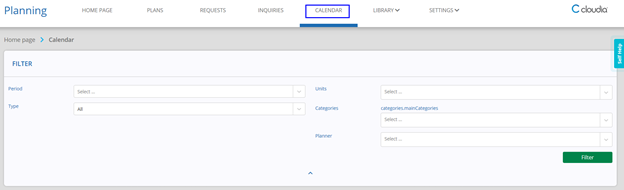
FIGURE: The calendar view can also be filtered