The contract initialisation data is defined the same way as in connection with the creation of a structured contract. The only difference is that when a contract is imported, instead of using a structured document template, the contract document is imported by downloading it.
To import a contract, click ‘New contract’ from the top navigation and then ‘Import contract’.
Contract initialisation
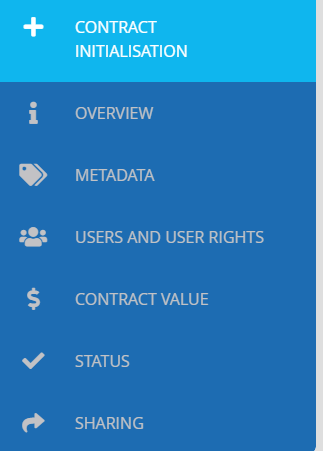
The initialisation of a new contract involves the following steps:
- Contract initialisation
- Overview
- Metadata
- Users and user rights
- Contract value
- Status
- Sharing
Required information
The required information is marked with an asterisk (*) in the user interface. The contract may only be saved when all of the required information has been provided. Required information includes:
- Organisation unit
- Contract attachments
- Contract type
- Language
- Name of the contract
NOTE! Additionally, the contract may have mandatory metadata and contract segments defined, in which case you will have to process them before the contract can be saved.
* Organisation unit:
- Click ‘Choose organisation unit’. A list of organisations is displayed. Select the desired organisation unit and click ‘Select'

Contract folder:
- Click ‘Select contract folder’
- Select the correct contract folder from the list displayed or narrow down the search
- Select the desired organisation unit and click ‘Select'

Parent contract:
- Click ‘Select parent contract’
- Select the correct parent contract from the list and click ‘Select'

Tender
If there is a tender integration and the contract case is linked to the tender, the contract may be linked to the tender
- Click on "select tender"
- Select the right tender in the window that opens

Contract document:
- Click ''Attach contract document'' then upload file and click ''Download''.

Contract type:
The contract must be linked to a contract type.
- If you did not select a contract case for the contract, the list will display all contracts in the system
- Select the desired contract type and click ‘Select'
- If you selected a contract case for the contract, the contract type will be populated from the contract case data.

* Language:
Then a contract template had been selected, the language selection view opens.
- If there is only one language available (e.g. English), it will be selected by default.
- If there are several languages available, select a language by clicking it in the list
- Finnish
- English
- Swedish
Proceed to the next step:
When the language has been selected, click "Next". The system will ask you to confirm that you want to create a new contract with this information.
NOTE! Information given in the contract initialization phase can not be changed after this point
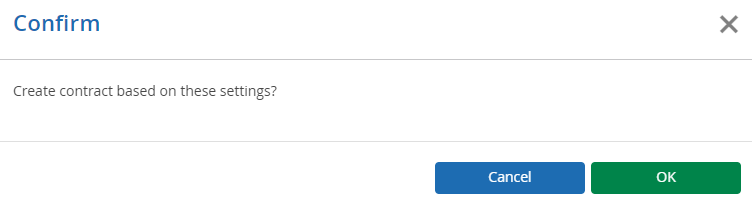
Click OK and move on to filling in the other sections of the contract.
NOTE! The form may only be saved when all of the required information has been provided.
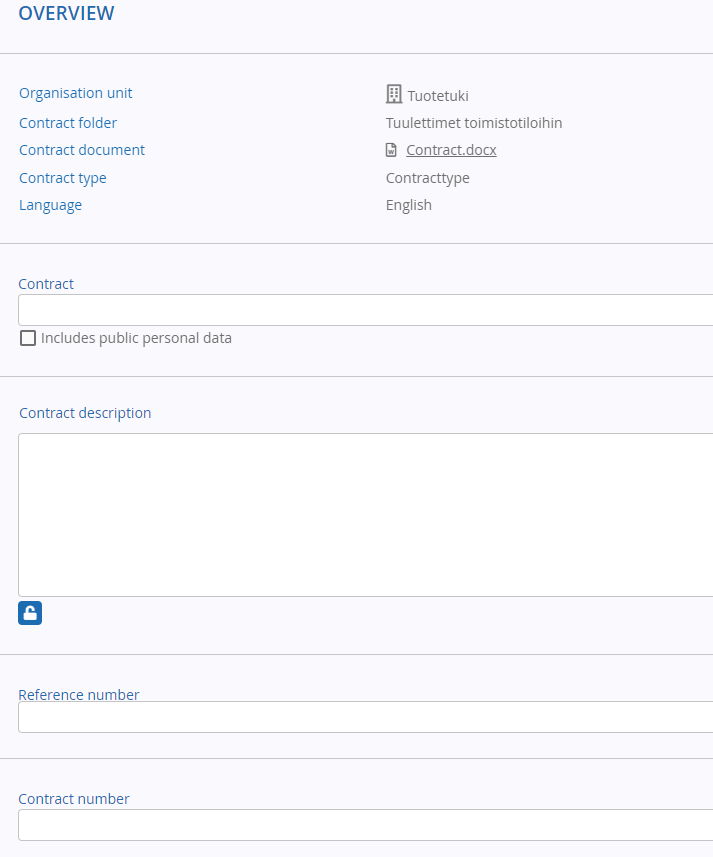
Overview
* Contract:
- Enter a name for the contract
Contract description:
- Enter the description of the contract
Reference number:
- Enter a reference number for the contract if applicable
Contract number:
- Enter an external number for the contract or generate contract number automatically
Contract identifier:
- The system generates the identifier automatically
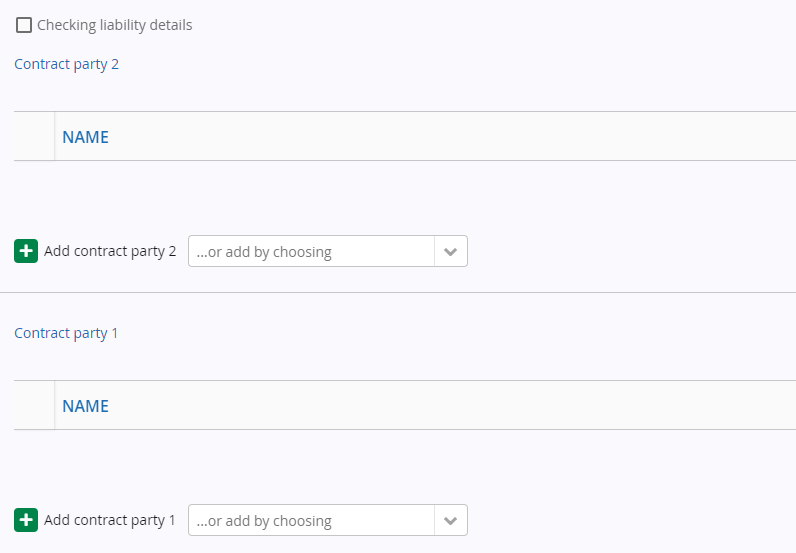
Contract party 2:
Any additional information saved for the agency defined as the contract owner will be shown by default.
- Click ‘Add contract party’
- Enter the name, ID (e.g., business ID or social security number) and address details in the resulting form
- Use the ‘Pick contact from library’ function to retrieve client details from the User Management contact information
Contract party 1:
- Click ‘Add contract party’
- Enter the name, ID (e.g., business ID or social security number) and address details in the resulting form
- Use the ‘Pick contact from library’ function to retrieve supplier details from the User Management contact information
Checking of information related to the contractor's obligations and liability
* Additional functionality subject to a separate order that can be used for retrieving a Tilaajavastuu.fi report directly from the supplier’s data
- When the supplier information has been saved, you can view the supplier’s details related to the contractor’s obligations and liability in a separate view. Click here for instructions.
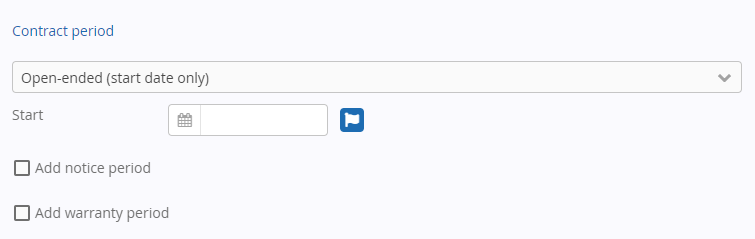
Contract period:
- Select ‘Fixed period’, ‘Open-ended’ or one-off contract
- Enter the dates. The dates can be entered directly into the field or selected from the calendar

Option periods:
- Contracts can have any number of option periods associated with them. If you want to use option periods, click ‘Add option period’ to add an option period. A contract can only have one active option period at a time.
- Define the option period by adding the relevant dates into the date fields
- The dates can be entered directly into the field or selected from the calendar
- If applicable, select ‘Option period active’
- Use the selection button to the right (3 horizontal lines) to remove the specified option period or attach an option decision document

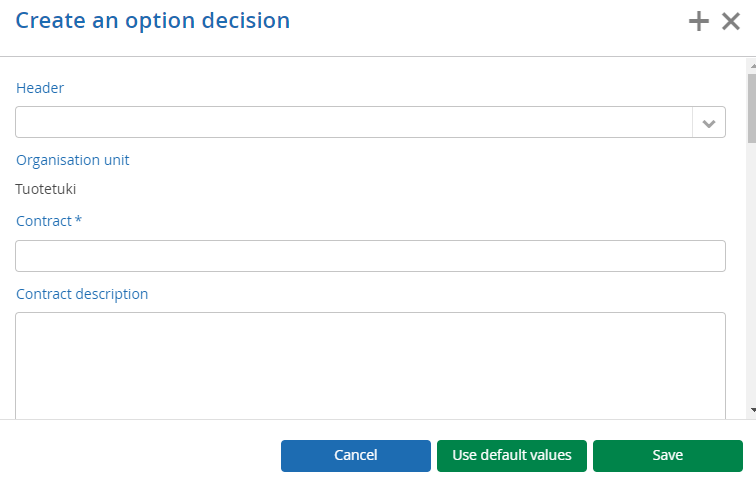
Create option decision document
* feature
Create an option decision window opens. Fill in the required fields:
- Choose the header for the document
- Organisation unit (comes automatically)
- Contract *
- Contract description
- If needed use the phrase library
- Decided by
- Decision date
- Decision
- If needed use the phrase library
- Grounds for decision
- Contract party B
- Other information
- Signature
- Choose document footer
"Use default values" sets the original texts back to the fields.
Save the option decision by clicking "Save. The option decision pdf will show below the selection "Option period active".
Send option decision notification
- Fill in the subject and text for the notification
- Choose message recipients
- Click "submit" to send the notification e-mail to the chosen recipients
Contract attachments and other attachments:
- Contract attachments or other contract documents can be attached to the contract.
- Click ‘Add document’ to open the ‘File upload’ window
- Click ‘Select files’ to select files from your computer. When the files are displayed in the ‘File upload’ window, click ‘Save’ to list the files on the contract
- You may also drag and drop the file to the upload window
- You can also add a document from the document library by clicking ‘Add document from library’ and selecting an attachment from the list
- Use the selection button to the right (3 horizontal lines) to set the document as confidential or remove the document

Links:
You may add links to the contract that will be displayed on the contract info page in the Cloudia Dashboard.
* Additional functionality
- Enter a link description
- Enter the address (in the format http://...)
Click ‘Add link’ to enter the link you defined to the contract
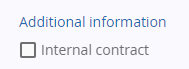
Additional information:
- Define the contract as internal contract if applicable
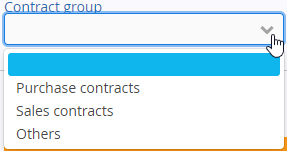
Contract group:
- Select a contract group from the menu
- Purchase contracts
- Sales contracts
- Others
Save the contract and proceed to the next step if applicable:
- When you have filled out all the required fields, you may save the contract. Click ‘Save’. ‘Contract created’ will be displayed in the bottom-right corner.
- You can also click ‘Next’ to continue adding the necessary information to the contract
Metadata
Users may choose metadata (additional information) to be added for the contract. All the metadata belonging to the organisation and agency is available. If a user account belongs to several agencies, the available metadata will be determined according to the agency that has been defined as the owner of the contract concerned. You may edit the chosen metadata unless this is specifically prevented in the settings.
- Click ‘Add metadata’
- Select the metadata from the list
- You may search for metadata by filtering the field according to data type or using a keyword.
- Click ‘Select'
- Click the red cross to delete the metadata if necessary
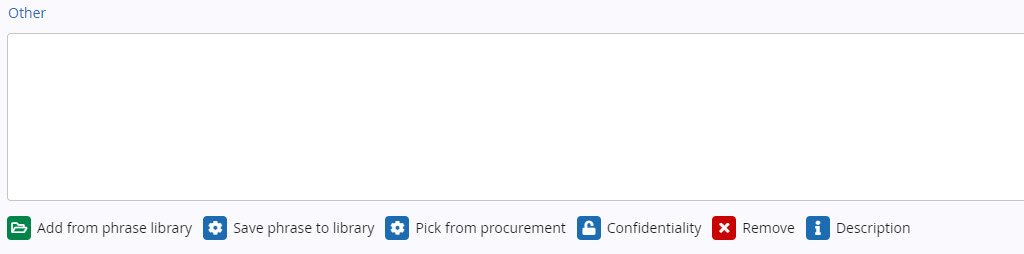
Edit metadata:
You may edit the default metadata content unless this is prevented in the metadata settings.
If the metadata consist of multiple lines, you may also add phrases from the phrase library or save the phrases to the phrase library.
Save the changes or proceed to the next step:
- Click ‘Save’. ‘Changes successfully saved’ will be displayed in the bottom-right corner.
- You can also click ‘Next’ to continue adding the necessary information to the contract
Users and user rights
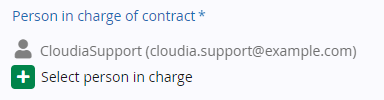
By default, the user who creates the contract will be set as the person in charge of the contract. If a user is selected as the person in charge of the contract, the role will grant the user the right to edit the contracts of the unit concerned.
Person in charge of contract:
- Click ‘Select person in charge’
- Select a person in charge from the list displayed or filter the results
- Click ‘Select'
Deputy person(s) in charge:
- Click ‘Add deputy person in charge’
- Select a deputy person in charge from the list displayed or filter the results
- Click ‘Select'
- Click the red cross to delete the persons in charge if necessary

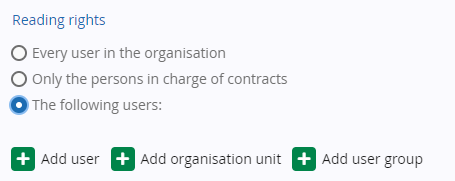
Reading rights:
Reading rights define the visibility of the contract case in lists and searches
Choose the desired option from the list:
- Every user in the organisation
- Only the persons in charge of contracts
- The following users
- If you chose ‘The following users’, click ‘Add users’, ‘Add organisation units’ or ‘Add user groups’
- Select the users, organisation or user groups from the list or filter the results
- Click ‘Select'
Click the red cross to delete your selections if necessary.
Editing rights:
- Editing rights will be inherited to the contract by default
- You may add editing rights at the user, unit or user group level

Save the changes or proceed to the next step:
- Click ‘Save’. ‘Changes successfully saved’ will be displayed in the bottom-right corner.
- You can also click ‘Next’ to continue adding the necessary information to the contract
Contract value
Estimated value total:
- You may enter the total value and currency of the contract
- Enter the sum total of the estimated value of the contract
- Select the currency to be used
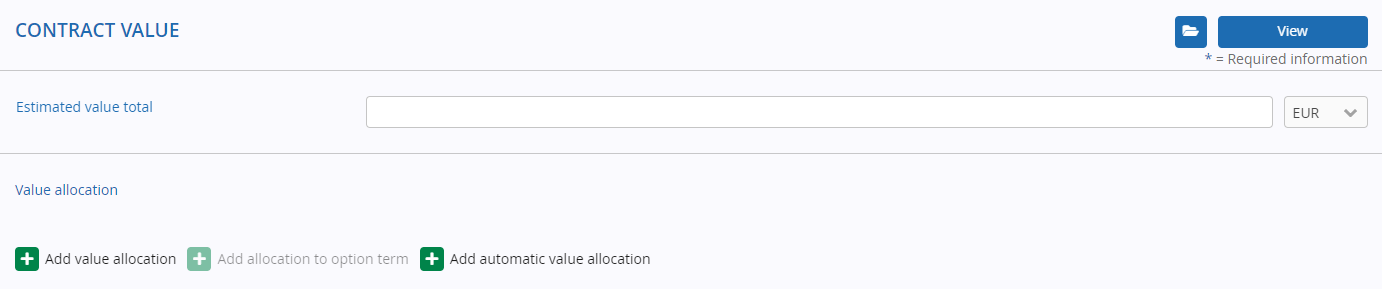
Value allocation:
The contract value can be allocated across several years by adding an allocation, selecting a year and entering the estimated and actual value. Allocations can be edited and deleted.
- Value can be allocated manually or automatically
- Click ‘Add value allocation’ and define the necessary details
Automatic value allocation:
If the contract is not linked to a contract case for which a value has been specified, the value entered for the contract can be allocated automatically. Value allocation spreads the total value over the contract period years (or over four years from the start date if the contract is open-ended)
- Click ‘Automatic value allocation’
- The system will ask you whether you want to execute automatic value allocation. Click ‘OK’, and the value allocation will appear in the field
Save the changes or proceed to the next step:
- Click ‘Save’. ‘Changes successfully saved’ will be displayed in the bottom-right corner
- You can also click ‘Next’ to continue adding the necessary information to the contract
Events
Events lists can be selected from library or created. Events lists will be inherited to the contract by default.
First, create the basic information for the task list, following which you may define tasks for it. You may either create a new tasklist or import an existing one using the ‘Add from library’ function.

NOTE! If any task lists have been defined for the contract folder, they will also be inherited for the contract by default.
Create a new task list:
First, create the basic information for the task list, following which you may define steps for it.
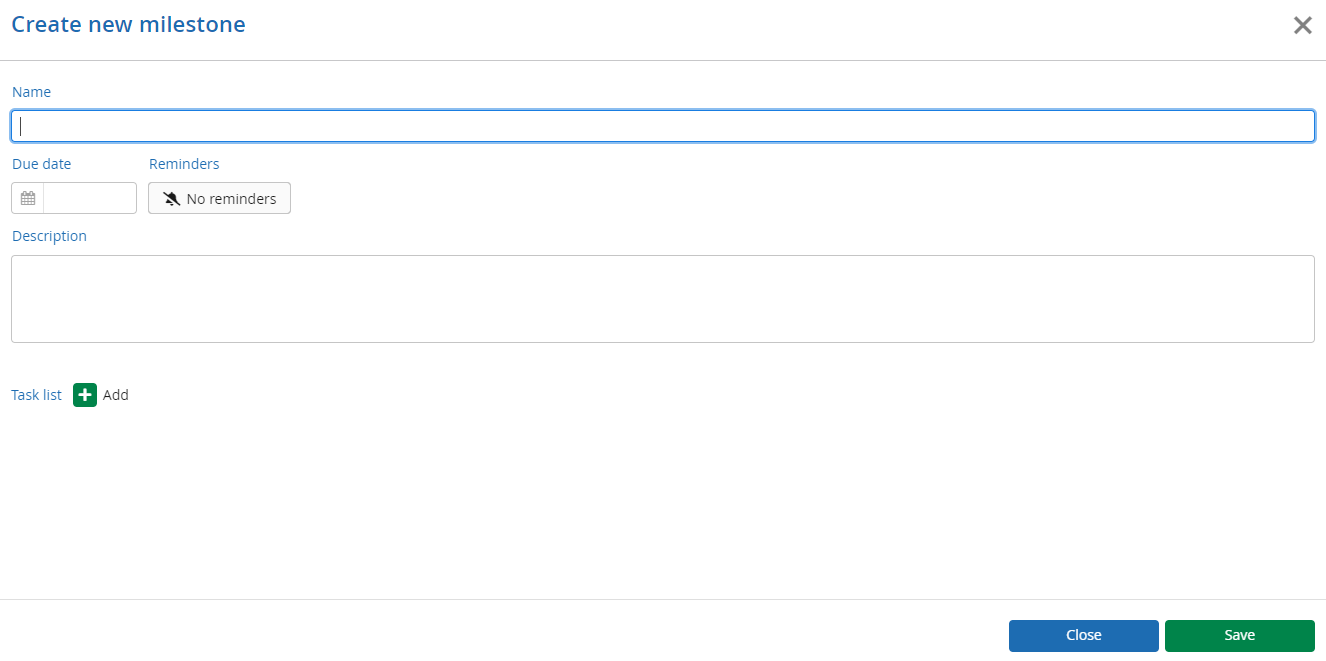
Basic information
Name*:
- Enter a name for the milestone.
Due date:
- Enter due date for the milestone.
Reminders:
- Enter reminders for the milestone
Description*:
- Enter a description
Tasklist
Click ‘Add tasklist'
Name*:
- Enter a name for the tasklist.
Description*:
- Enter a description for the tasklist
Reminders:
- Enter a reminder for tasklist
Click ‘Save’ to save the task. The task will then be displayed on the ‘Task list’ tab of the contract.

Save the changes or proceed to the next step:
- Click ‘Save’. ‘Contract case successfully saved’ will be displayed in the bottom-right corner.
- You can also click ‘Next’ to continue adding the necessary information to the contract
Signature details and status
Changing the status of the contract to ‘Active’:
Click ‘Change contract status’ and choose ‘Active’.

Changing the status of the contract to a status other than ‘Active’:
- Once the contract status has been changed to ‘Active’, it can be changed to ‘In progress’, ‘Nullified’, ‘Terminated’ or ‘Expired’ as applicable
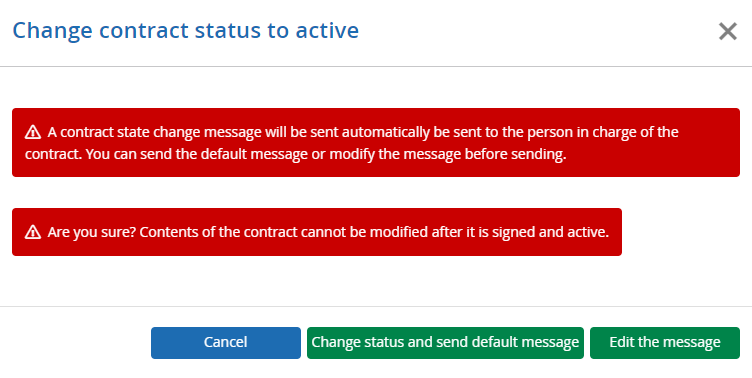
Changing the status will automatically switch the view to sending a status change message if the system prompts you: “Are you sure? Contents of the contract cannot be modified after it is signed and active”.
- Change status and send default message
- The system records the status change and sends a fixed-form message to the recipient
- Edit the message
- Specify the subject, text and recipients of the message
- Use the ‘Change status and send default message’ option to record the status change and send the status change message
- Cancel
- If you do not want to send a message, click ‘Cancel’ to exit the view
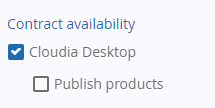
Contract availability:
- The contract may be published to Cloudia Dashboard *additional funtionality
Confidentiality:
- Define the contract as confidential if applicable
- Choose ‘Confidential’
- Write the reason for confidentiality or add it from the phrase library
- Click ‘Confirm’

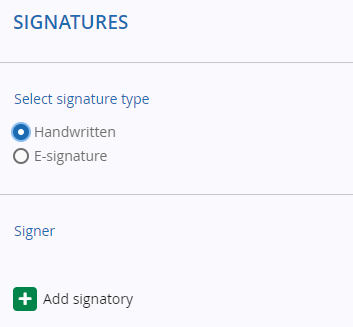
Signer:
- Click the ‘Add signatory’ button
- Fill out the name and title and select a party from the drop-down menu
- The party will be populated to the drop-down menu from the ‘Basic information’ tab
- Enter a date or select it from the calendar
Functions:
The contract can be downloaded as a PDF file Click ‘Download contract document’.
- The contract will be downloaded on your computer
Compress contract files for download
- Download a zip file to your own computer that contains all the contract documents
Replace contract
- Change the original contract document uploaded to the system to another document uploaded from your own computer

Editing a contract
Contracts may be edited subject to certain restrictions. The status of the contract (‘Active’, ‘In progress’, ‘Nullified’, ‘Terminated’ or ‘Expired’) determines which editing actions are permitted. The user's editing privileges (i.e. whether the person concerned is in charge of the contract) and organisation-level privileges will also determine what kind of changes the user is allowed to make.