Users may create and edit structured contracts. Contracts are always created using a contract template. The contract template may be determined by the contract type used, or the contract can be prepared by editing an existing contract. In structured contracts, also the content is created using dynamic terms and conditions.
Contracts can be added to a selected contract case, in which case the contract serves as the main or parent contract (e.g. supplier contracts in a framework agreement). Contracts can also be added as subcontracts under a main contract (e.g. supply contracts under a framework agreement). Structured contracts make the contracts more standardised and easier to find and monitor, and changes to the content become more manageable.
To create a contract, click ‘New contract’ from the top navigation and then ‘Create contract’.
Contract initialisation
The initialisation of a new contract involves the following steps:
- Contract initialisation
- Overview
- Metadata
- Users and user rights
- Terms and Conditions
- Contract value
- Products
- Document
- Signatures
- Status
- Sharing
Required information
The required information is marked with an asterisk (*) in the user interface. The contract may only be saved when all of the required information has been provided. Required information includes:
- Organisation unit
- Contract type
- Language
- Name
NOTE! Additionally, the contract may have mandatory metadata and terms and conditions defined, in which case you will have to process them before the contract can be saved.
Contract initialisation
* Organisation unit:
- Click ‘Choose organisation unit’. A list of organisations is displayed. Select the desired organisation unit and click ‘Select’

Contract folder:
- Click ‘Select contract folder’
- Select the correct contract folder from the list displayed or narrow down the search
- Select the desired organisation unit and click ‘Select’
If the contract is not created directly under the contract folder, but is done with the "Create contract" function and then attached to the contract folder, the metadata forced on the contract folder will not be inherited to the contract.

Parent contract:
- Click ‘Select parent contract’
- Select the correct parent contract from the list and click ‘Select’

* Tender
If there is a tender integration and the contract case is linked to the tender, the contract may be linked to the tender
- Click on "select tender"
- Select the right tender in the window that opens

* Contract type:
The contract must be linked to a contract type
- If you did not select a contract folder for the contract, the list will display all contracts in the system
- Select the desired contract type and click ‘Select’
- If you selected a contract folder for the contract, the contract type will be populated from the contract folder data.

Contract template:
- Select:
- No selection
- Select from all templates
- Select from contracts
- Select from types templates

* Language:
Then a contract template had been selected, the language selection view opens.
- If there is only one language available (e.g. English), it will be selected by default.
- If there are several languages available, select a language by clicking it in the list
- Finnish
- English
- Swedish
Proceed to the next step:
When the language has been selected, click "Next". The system will ask you to confirm that you want to create a new contract with this information.
NOTE! Information given in the contract initialization phase can not be changed after this point

Click OK and move on to filling in the other sections of the contract.
NOTE! The form may only be saved when all of the required information has been provided.
Basic information
* Contract:
- Enter a name for the contract
Contract description:
- Enter the description of the contract
Reference number:
- Enter a reference number for the contract if applicable
Contract number:
- Enter an external number for the contract
Contract identifier:
- The system generates the identifier automatically after saving the contract
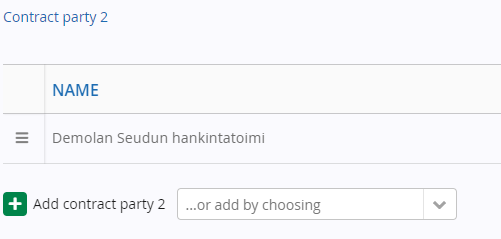
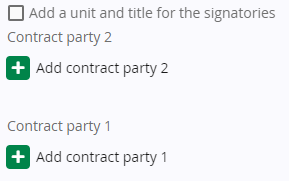
Contract party 2:
Any additional information saved for the agency defined as the contract owner will be shown by default.
- Click ‘Add contract party B - Counterparty"
- Enter the name, ID (e.g., business ID or social security number) and address details in the resulting form
- Use the ‘Pick contact’ function to retrieve client details from the User Management contact information
Checking of information related to the contractor's obligations and liability
*Additional functionality subject to a separate order
This functionality allows you to retrieve a Tilaajavastuu.fi report directly from the supplier’s data.
- When the supplier information has been saved, the system will retrieve the contractor liability details from the database. The reports will be retrieved overnight. The system will retrieve a contractor’s obligations and liability report on the suppliers stored in the database on a quarterly basis.
- Click the “Update” button to update the report. You can also download the report or include it as a contract attachment by clicking the paper clip icon
-
You can remove the checking of information related to the contractor's obligations and liability by unchecking “Checking liability details”
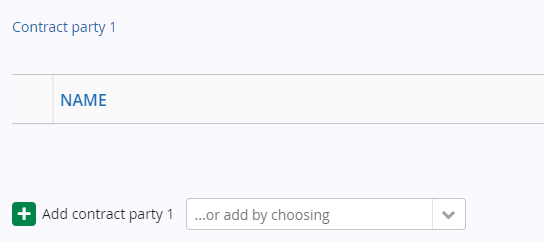
Contract party 1:
- Click ‘Add contract party A - Creator/Importer"
- Enter the name, ID (e.g., business ID or social security number) and address details in the resulting form
- Use the ‘Pick contact’ function to retrieve supplier details from the User Management contact information
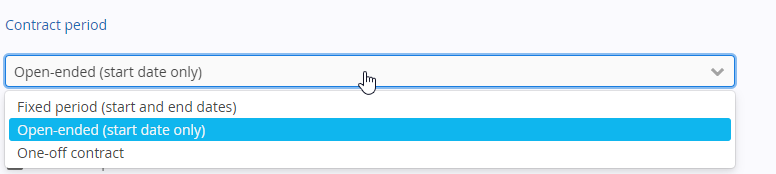
Contract period:
- Select ‘Fixed period’, ‘Open-ended’ or one-off contract
- Enter the dates. The dates can be entered directly into the field or selected from the calendar
- It is possible to add milestones from the contract period by selecting the flag icon beside the date field to open the dialogue box (see milestones instructions)
- Add notice period
- Add warranty period
Option periods:
- Contracts can have any number of option periods associated with them. If you want to use option periods, click ‘Add option period’ to add an option period. A contract can only have one active option period at a time.
- Define the option period by adding the relevant dates into the date fields
- The dates can be entered directly into the field or selected from the calendar
- If applicable, select ‘Active’
- Use the selection button to the right (3 horizontal lines)
- to remove the specified option period
- attach an option decision document
- create an option decision document (* additional feature)
- Send option decision notification

Create option decision document
* feature
Create an option decision window opens. Fill in the required fields:
- Choose the header for the document
- Organisation unit (comes automatically)
- Contract *
- Contract description
- If needed use the phrase library
- Decided by
- Decision date
- Decision
- If needed use the phrase library
- Grounds for decision
- Contract party B
- Other information
- Signature
- Choose document footer
"Use default values" sets the original texts back to the fields.
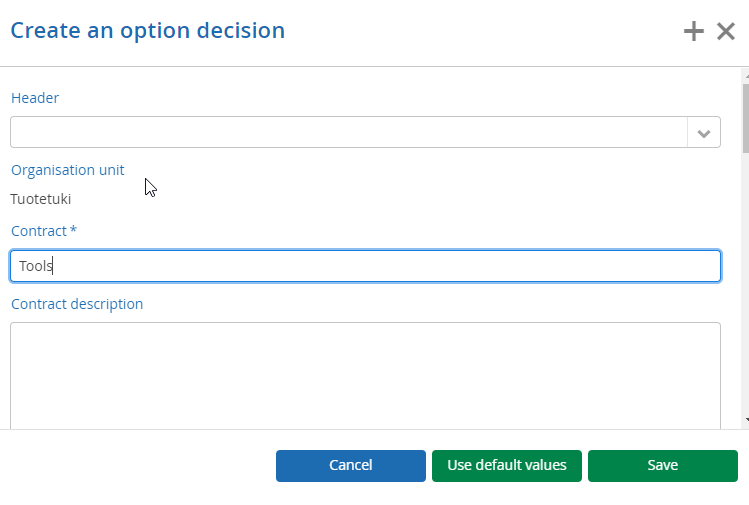
Save the option decision by clicking "Save. The option decision pdf will show below the selection "Option period active".
Send option decision notification
- Fill in the subject and text for the notification
- Choose message recipients
- Click "submit" to send the notification e-mail to the chosen recipients
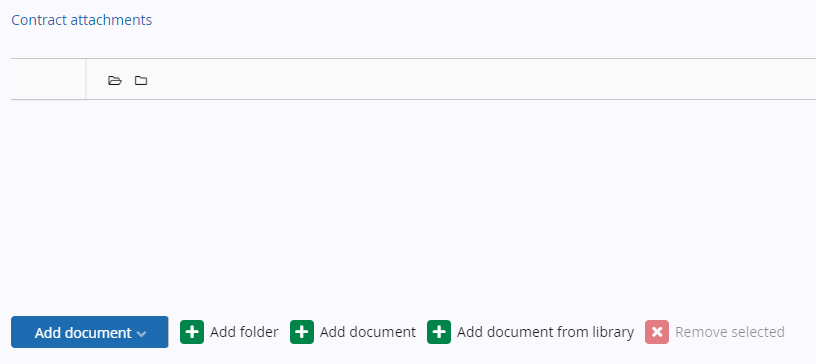
Contract attachments and other attachments:
- Contract attachments or other contract documents can be attached to the contract.
- Click ‘Add document’ to open the ‘File upload’ window
- Click ‘Select files’ to select files from your computer. When the files are displayed in the ‘File upload’ window, click ‘Upload’ to list the files on the contract
- You may also drag and drop the file to the upload window
- You can also add a document from the document library by clicking ‘Add document from library’ and selecting an attachment from the list
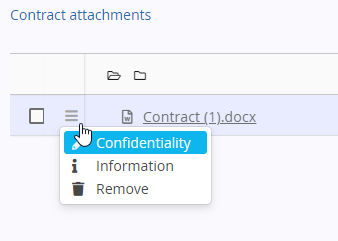
- Use the selection button to the right (3 horizontal lines) to set the document as confidential or remove the document
If the contract is linked to a contract case provided by way of integration with Cloudia Tendering, product attachments in Excel or PDF format can also be selected in addition to the document library.
- Click ‘Add document’ to select a file.
- Add document from library
- Products (Excel)
- Products (PDF)
From separate button on the right document can be set as confidential.
- Click "Confidential"
- Enter the reason for confidentiality or add it from the phrase library
- Add the personal data included in the attachment where necessary if they need to be searched for
- Click "Confirm''
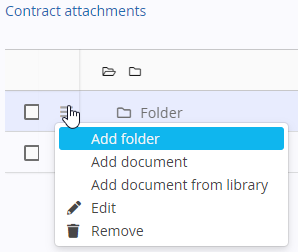
The attachments can be arranged in folders. Click "Add folder” to add a new folder. The folder appears topmost in the list. You can drag and drop attachments into the folder. "
Click the three lines button at the end of the folder
- to add a subfolder in the folder - "Add folder"
- to add a document in the folder from your own computer - "Add document"
- to add a document in the folder from the file library - "Add document from library"
- to edit the name of the folder
- and delete the folder
Use the "Filter" field to search for attachments. You can also delete several attachments by selecting the attachments and clicking "Remove selected".
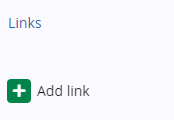
Links:
You may add links to the contract that will be displayed on the contract information page in the Dashboard.
* Additional functionality
- Enter a link description
- Enter the link address (in the format http://...)
- Click ‘Add link’ to enter the link you defined to the contract
Additional information:
- Define the contract as internal contract if applicable

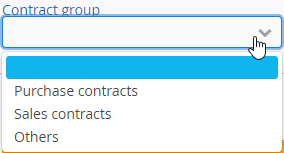
Contract group:
- Select a contract group from the menu
- Purchase contracts
- Sales contracts
- Others
Save the contract and proceed to the next step if applicable:
- When you have filled out all the required fields, you may save the contract. Click ‘Save’. ‘Contract created’ will be displayed in the bottom-right corner.
- You can also click ‘Next’ to continue adding the necessary information to the contract
Metadata
Add metadata:
Users may choose metadata (additional information) to be added for the contract. All the metadata belonging to the organisation and agency is available. If a user account belongs to several agencies, the available metadata will be determined according to the agency that has been defined as the owner of the contract concerned. You may edit the chosen metadata unless this is specifically prevented in the settings.
- Click ‘Add metadata’
- Select the metadata from the list
- You may search for metadata by filtering the field according to data type or using a keyword.
- Click ‘Select'
- Click the red cross to delete the metadata if necessary

Edit metadata:
You may edit the default metadata content unless this is prevented in the metadata settings. If the metadata consist of multiple lines, you may also add phrases from the phrase library or save the phrases to the phrase library. Metadata can be set as confidential as well as attachments.
Save the changes or proceed to the next step:
- Click ‘Save’. ‘Changes successfully saved’ will be displayed in the bottom-right corner.
- You can also click ‘Next’ to continue adding the necessary information to the contract
Users and user rights
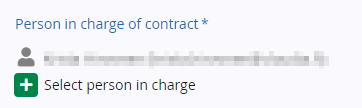
By default, the user who creates the contract will be set as the person in charge of the contract. If a user is selected as the person in charge of the contract, the role will grant the user the right to edit the contracts of the unit concerned.
Person in charge of contract:
- Click ‘Select person in charge’
- Select a person in charge from the list displayed or filter the results
- Click ‘Select'
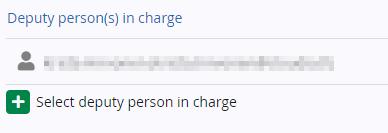
Deputy person(s) in charge:
- Click ‘Add deputy person in charge’
- Select a deputy person in charge from the list displayed or filter the results
- Click ‘Select'
- Click the red cross to delete the persons in charge if necessary
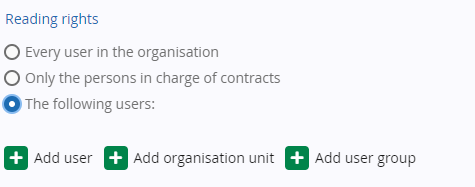
Reading rights:
Reading rights the visibility of the contract case in lists and searches
Choose the desired option from the list:
- Every user in the organisation
- Only the persons in charge of contracts
- The following users
- If you chose ‘The following users’, click ‘Add users’, ‘Add organisation units’ or ‘Add user groups’
- Select the users, organisation or user groups from the list or filter the results
- Click ‘Select'
Click the red cross to delete your selections if necessary.
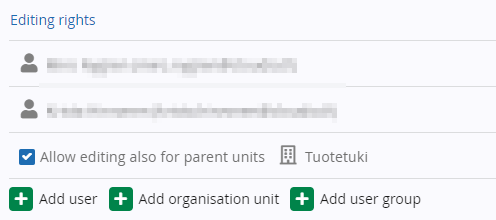
Editing rights:
- Editing rights will be inherited to the contract by default
- You may add editing rights user, unit or user group level
Save the changes or proceed to the next step:
- Click ‘Save’. ‘Changes successfully saved’ will be displayed in the bottom-right corner.
- You can also click ‘Next’ to continue adding the necessary information to the contract
Terms and Conditions
The content displayed in contract documents consists of Terms and conditions. Terms and conditions may be populated by default according to the contract template currently selected or a desired number of them can be added and created by the user. Terms and conditions inherited from the contract template can be edited or deleted unless this is specifically prevented in the settings.
- Add terms and conditions
- Click ‘Add terms and conditions’ to add a new terms and condition
- A list of terms and conditions is displayed.
- You may filter the view by data type or keyword
- Activate the desired terms and conditions and click 'Select'
- A list of terms and conditions is displayed.
- Click ‘Add terms and conditions’ to add a new terms and condition

Create new terms and conditions:
- Click ‘Create new terms and conditions’ to create a new segment to the contract.
- Select a data type, name and content
- Click ‘Save’
NOTE! Contract elements created ‘on the fly’ will not be saved in the library.
Importing terms and conditions from Word
- Content can be in imported directly into a contract from a Word document by selecting the appropriate option when editing a contract.
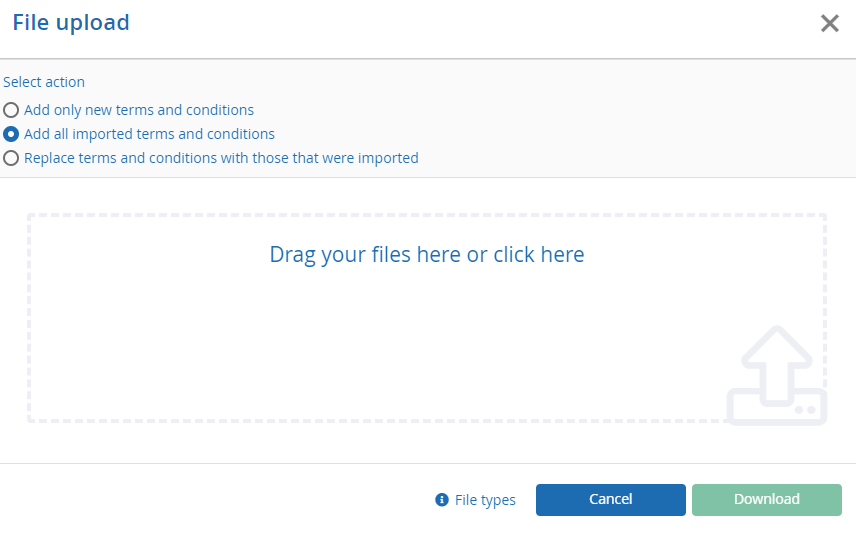
- When selected, a file upload dialogue will appear, along with three options that determine how the document will be affected:
- Replace the contract clauses with imported document.
- All content will be replaced by that which is imported.
- Add the imported content to the existing contract causes
- The information taken from the Word document will be appended as additional clauses.
- Add only new clauses found in the imported document
- Only clauses found in the document with a title that does not match any of the existing clauses will be added.
- Replace the contract clauses with imported document.
Note: when information is imported from Word the contract is automatically saved as part of the process.
When added to a document the clauses will appear in the system with the titles automatically assigned.
The system will automatically recognise tables and pictures and assign them the same data type in the system.
Edit title
The title given for the terms and conditions can be edited
- Click ‘Edit title’
- Changes can be made either to the numbering of the titles or to the name of the title
- Make the necessary changes to the title numbering or to the edit field and click ‘Save’

NOTE! If the terms and conditions has been locked, the title or numbering cannot be edited. In this case, the field will be greyed out in the edit view.
Edit content
- To edit the terms and conditions, click ‘Edit content’.
- The ‘Select’ button below the terms and conditions displays the following options:
- Add terms and conditions above current
- Add terms and conditions below current
- Create new terms and conditions above current
- Create new terms and conditions below current
- Add from phrase library
- Save phrase to library
- Pick from procurement
- Confidentiality
- Remove
NOTE! If the terms and conditions has been locked, only root admin can remove it. In this case, the field will be grayed out in the edit view.
If the terms and condition has been included in the commentround, the comments regarding the specific segment can be opened from "Comments".
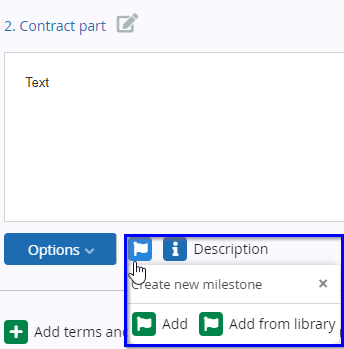
To create a milestone directly from Terms & Conditions, click the flag icon below the segment.
Edit order
- To edit the order of the terms and conditions, click ‘Edit order’
- To change the order of the terms and conditions, drag the segments to the desired order

Edit order and create sub-level headings:
- Select the line you want to define as a subheading and drag it over the desired level When the line under which you want to create a sub-level activates, release the dragged line (Fig. 1).
In Fig. 1., line 5 has been dragged over line 5 to make it a subheading of line 5.
Fig. 2 shows that terms and conditions “Obligations of the client’ will be placed on title level 5.1
Note! Titles can be arranged on three levels
- 2
- 2.1
- 2.1.1

Arrange subheading or move back to a higher title level:
- Sub-level headings can be arranged the same way as main level headings
- Select a heading and drag it to the desired location
Save the changes or proceed to the next step:
- Click ‘Save’. ‘Changes successfully saved’ will be displayed in the bottom-right corner.
- You can also click ‘Next’ to continue adding the necessary information to the contract
Contract value
Estimated value total:
- You may enter the total value and currency of the contract
- Enter the sum total of the estimated value of the contract
- Select the currency to be used
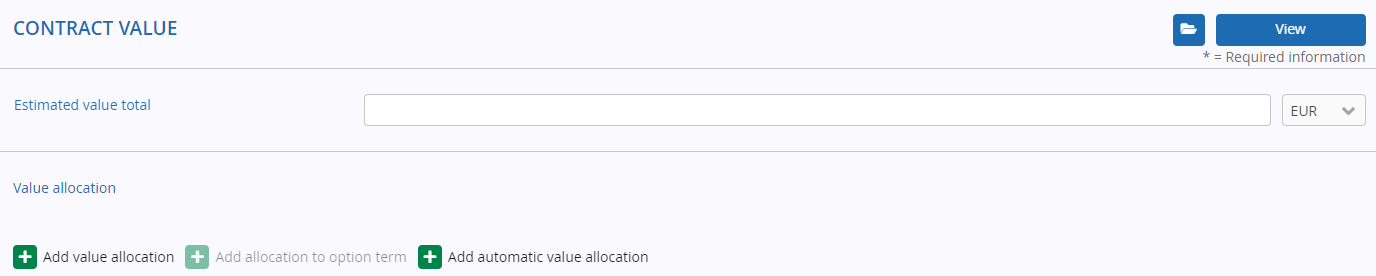
Value allocation:
The contract value can be allocated across several years by adding an allocation, selecting a year and entering the estimated and actual value. Allocations can be edited and deleted.
- Value can be allocated manually or automatically
- Click ‘Add value allocation’ and define the necessary details
- Value can be allocated also for the option term
Automatic value allocation:
If the contract is not linked to a contract case for which a value has been specified, the value entered for the contract can be allocated automatically. Value allocation spreads the total value over the contract period years (or over four years from the start date if the contract is open-ended)
- Click ‘Automatic value allocation’
- The system will ask you whether you want to execute automatic value allocation. Click ‘OK’, and the value allocation will appear in the field.
Save the changes or proceed to the next step:
- Click ‘Save’. ‘Changes successfully saved’ will be displayed in the bottom-right corner.
- You can also click ‘Next’ to continue adding the necessary information to the contract
Products
The ‘Products’ tab is used for adding the products included in the contract:
Add product group
- Enter a name for the product group and click 'Save'


Add product
- Enter the product details
- Name
- Quantity
- Unit
- Unit price
- Currency
- Additional product info
- Click 'Save'
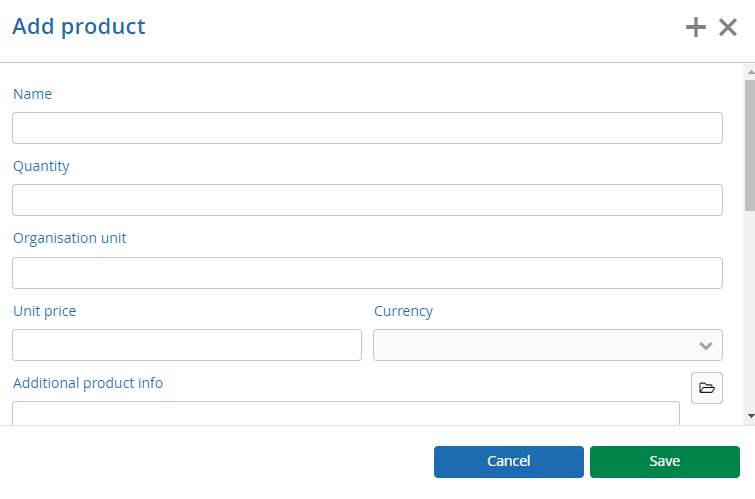
- If you want to add additional product info, click ‘Edit’ at the end of the product line
Products if integration with Cloudia Tendering is enabled
* Additional functionality
Add product from tender
- Select the products from the resulting window and click ‘Add’
NOTE! The selected products will have a price and purchased amount automatically defined
Product criteria
- The criteria applied to the product can be selected using ‘Pick products from criteria’
- From the pop-up window displayed, select the criteria you want to include in the additional product info field
See also: Integration between Cloudia Tendering and Cloudia Contract
Download
- Export product attachment to an Excel or pdf file
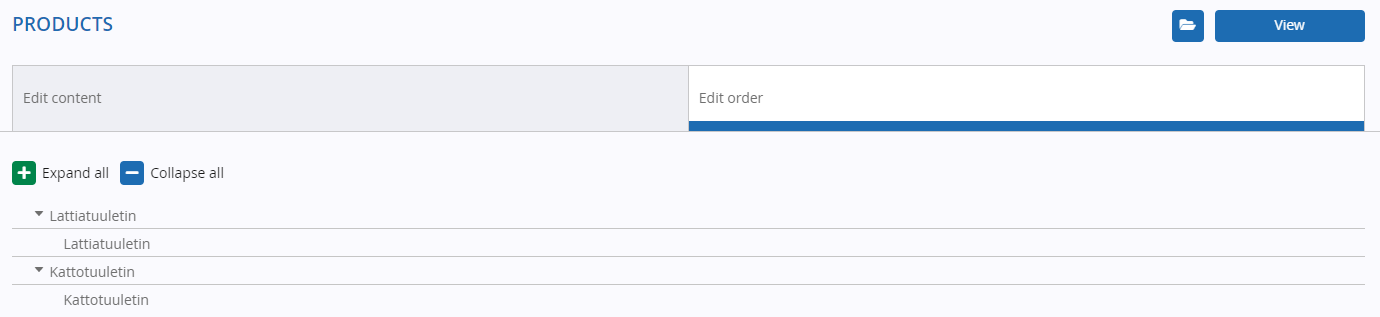
Edit order
- Click ‘Edit order’ to change the order of products and product groups
- Drag and drop lines above and below other lines to change the order of the products
- Expand all
- Expand all product groups simultaneously
- Collapse all
- Collapse all product groups simultaneously
Change the group:
- Click ‘Edit order’
- Drag the product to the desired product group
Delete a product or product group:
- Click the red cross at the end of the line
- Confirm the deletion
Document
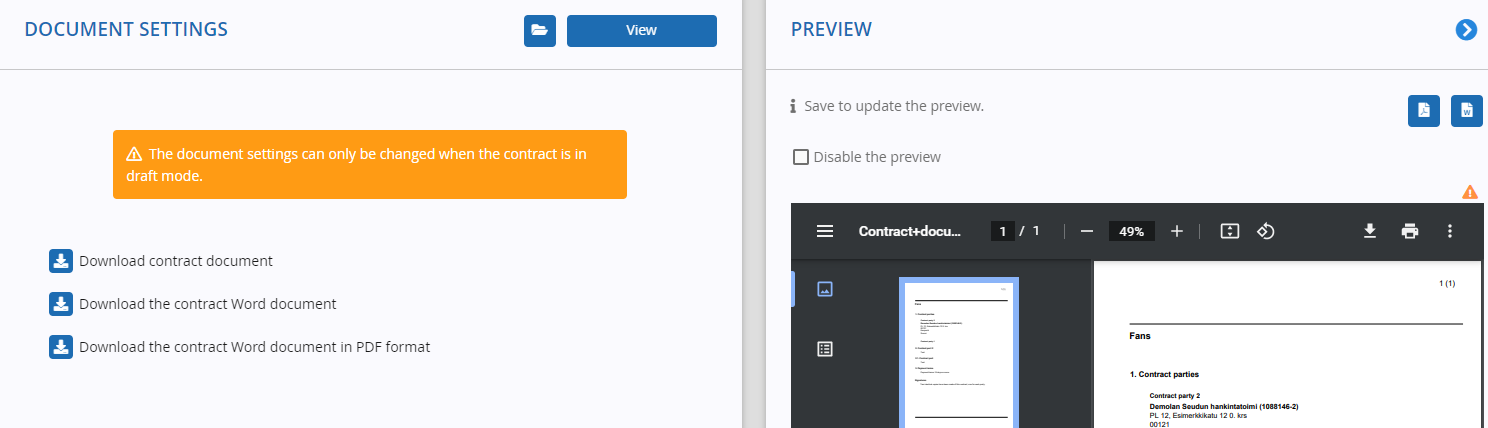
When you have entered the required information and saved the contract, the contract document can be further specified on the ‘Document’ tab. The default values of the document can be replaced by editing the content of fields as long as the contract is in the ‘in progress’ state.
NOTE! The changes will be added to the preview as soon as they are saved.
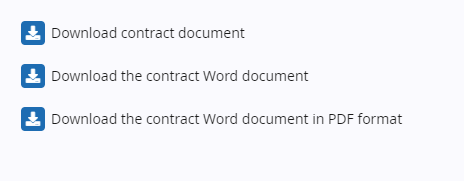
Functions:
- The contract can be downloaded as a PDF file by clicking the ‘Download contract document’ button
- Click "Download contract Word document" to download the contract to your own computer
-
You can edit the contract in Microsoft Word and import the edited terms and conditions back to the system via the Terms and conditions section (see Terms and conditions) You can also download the Word-document in pdf format
-
Header:
- Users can choose which headers to use on the contract PDF document
- Users can edit the contents of contract headers separately for each contract. If no header is selected, these sections will be left blank in the contract document.
- If applicable, you can also include a desired date and contract identifier in the header
NOTE! Headers have page numbering enabled by default.

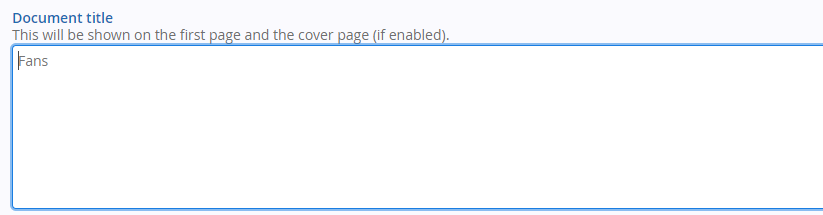
Document name:
- The contract name saved in the basic information of the contract will appear in this field automatically
- The contract document can be named as desired, but changing the name here will not change the name saved for the contract. The document name becomes the title of the PDF document
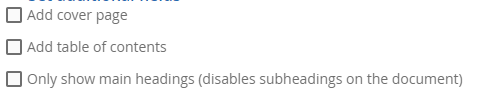
Contract cover and table of contents
- Users may choose whether to include a cover sheet and/or table of content in the contract document
- Click ‘Add cover page’ if applicable
- Click ‘Add table of contents’ if applicable
- Click 'Only show main headings (disables subheadings on the document)'
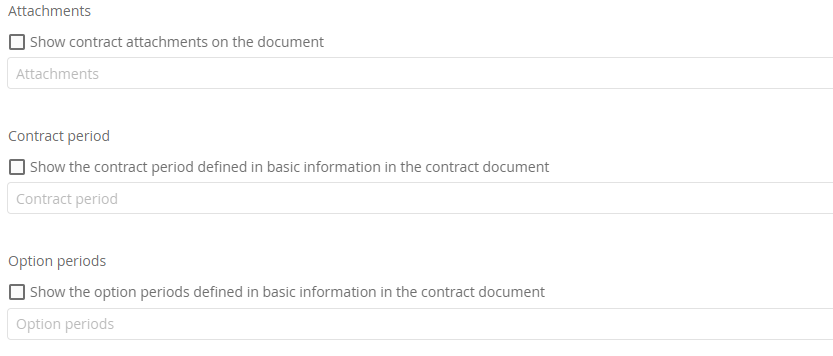
Contract period
- Click "Show the contract period defined in the basic information in the contract document" if contract period should be shown on the contract document.
- Edit the default title if necessary
Option periods
- Click "Show the option periods defined in the basic information in the contract document" if option periods should be shown on the contract document.
- Edit the default title if necessary
Contract attachments
- Click "Show contract attachments in the contract document" if contract attachments should be shown on the contract document.
- Edit the default title if necessary
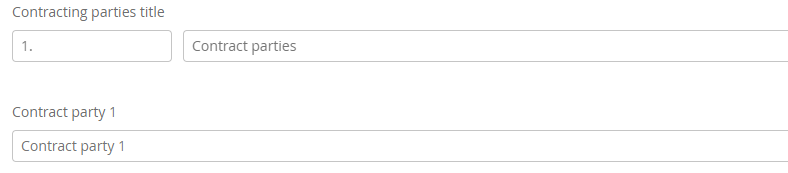
Contract party 1 title:
- Edit the default title if necessary
Contract party 2 title:
- Edit the default title if necessary
Signature text:
- Edit the default text if necessary

Signature placement:
- Enter the number of the contract clause after which you want to display the signature on the document

Footer:
- Users can choose which footers to use on the contract PDF document
- Users can edit the contents of contract footers separately for each contract
- If no footer is selected, these sections will be left blank in the contract document

Preview mode
If the contract has been indicated to include confidential sections, the document can be previewed in its public form or in its normal form
- Download contract document
- Download the contract Word document
Milestones
Typically, contracts are designed to outline the transfer of a good or service over a particular period, and generally include dates and schedules. This feature is designed to help monitor the progress of contracts by keeping track of the key events in a contract’s life-cycle.
Milestones can simply be a reminder in the system or contain a series of tasks that need to be complete to achieve some goal. The feature is designed to replace the current task list and task list library (as well as reminders) in Cloudia contract.
Examples of typical contract milestones
Milestones can be created to suit the individual needs of a contract or a user who wishes to follow up on what is happening and when over the agreement period. The following list suggests some events in a contract’s life-cycle, where milestones may be applied:
- During the drafting phase, deadlines and tasks may be set for completion of the 1st approved version.
- As the contract enters negotiation phase there may be several tasks that need to be complete before progress can be made. For example, terms of the Service Level Agreement (SLA) may need to be reviewed and approved.
- Once a contract is executed there are deliverables and schedules to be monitored, which are time sensitive activities, such as payment schedules or delivery dates.
- A milestone occurs when an option period becomes active when a contract period ends. At this point several actions may be required to determine the future of an agreement.
See instructions on how to create milestones from here.
Signature details
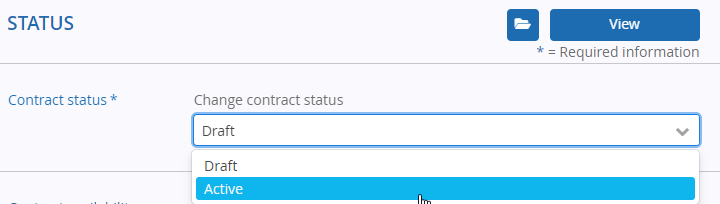
Changing the status of the contract to ‘Active’:
- Click ‘Change contract status’ and choose ‘Active’
- Once the contract status has been changed to ‘Active’, it can be changed to ‘In progress’, ‘Nullified’, ‘Terminated’ or ‘Expired’ as applicable
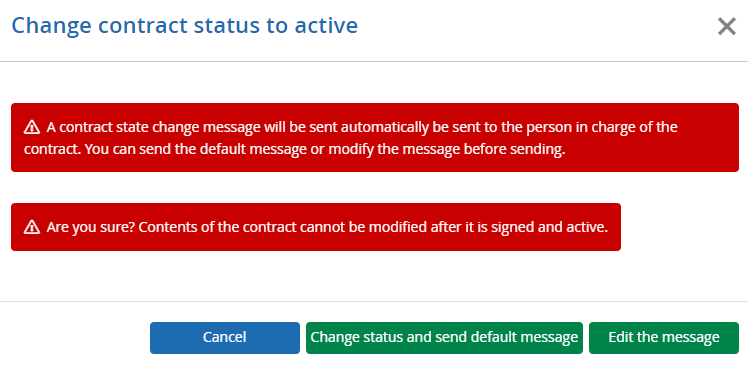
Changing the status will automatically switch the view to sending a status change message if the system prompts you: “Are you sure? Contents of the contract cannot be modified after it is signed and active”.
- Change status and send default message
- The system records the status change and sends a fixed-form message to the recipient
- Edit the message
- Specify the subject, text and recipients of the message
- Use the ‘Change status and send default message’ option to record the status change and send the status change message
- Cancel
-
If you do not want to send a message, click ‘Cancel’ to exit the view
-
NOTE! If the created contract is associated with a type that follows a workflow, the contract must be approved by a second party before updating the status.
Contract approval process
-
Once the ‘start the approval process’ button is clicked the user will be faced with different options depending on how the workflow is configured:
- If the approval is forced, the user will only be able to enter the deadline for the approval to be complete. They will also be able to view which persons the approval is going to be sent to.
- If the user has the option to select the approval from the list, they will enter the deadline date and then select which approver should receive the request..
- If the user has the option select their own approver, they can do that by selecting somebody from the list in the normal way and also setting the deadline.
When the approval process is started the contract is locked (in the same way that it is locked during the pending e-signature process). The user can view from the status and signature page that there is an approval process underway and they also have the option to cancel the process.
Those who are responsible for approving the contract will receive an email with a link to the contract approval page.
From here user is able to download the contract document and provide a decision regarding approval or not. If they select to not approve the contract a reason must be provided.

- In the case of the contract is not approved, the comments from the approver will be listed on the status and signature section.
- If the user provides a positive response for the approval decision, then the user is able to change a status of the contract
- If the deadline has passed then the approval be considered as failed and the user will have to start again with a new deadline.
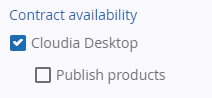
Contract availability:
- The contract may be published to Cloudia Dashboard (* Additional functionality)
- Select "publish products" if a listing of the products should be published to the dashboard
- Select which other attachments to be published
- Select option decisions whose documents are published
- Select which links to be published
Confidentiality:
- Define the contract as confidential if applicable, hence the read-only users cannot open the contract document.
- Choose ‘Confidential’
- Add the reason for confidentiality from the phrase library
- Click ‘Confirm’

-
Normal - manual signature, move forward to section 'Signer'
- E-signature * Additional functionality subject to charge
- DocuSign
- SignHero
- Visma (see instructions here)

Signer:
- Click the ‘Add signatory’ button
- Fill out the name and title and select a party from the drop-down menu
- The party will be populated to the drop-down menu from the ‘Basic information’ tab
- Enter a date or select it from the calendar
Functions:
- Download contract document
- The contract can be downloaded as a PDF file.
- Public document
- A contract in which the confidential information has been hidden will be downloaded as a PDF file.
- Compress contract files for download
- Download a zip file to your own computer that contains all the contract documents
- Send draft to Cloudia Sourcing (NOTE: this will only be available if the organisation has integration with Sourcing enabled)
- The contract will be sent to Cloudia Sourcing as an attachment to the call for tenders, see the instructions for integration with Sourcing

Editing a contract
Contracts may be edited subject to certain restrictions. The status of the contract (‘Active’, ‘In progress’, ‘Nullified’, ‘Terminated’ or ‘Expired’) determines which editing actions are permitted. The user's editing privileges (i.e. whether the person concerned is in charge of the contract) and organisation-level privileges will also determine what kind of changes the user is allowed to make.